Presets Tab
 |
 |
| Preset Tab - IA Buttons View | Preset Tab - Preset Actions View |
 |
 |
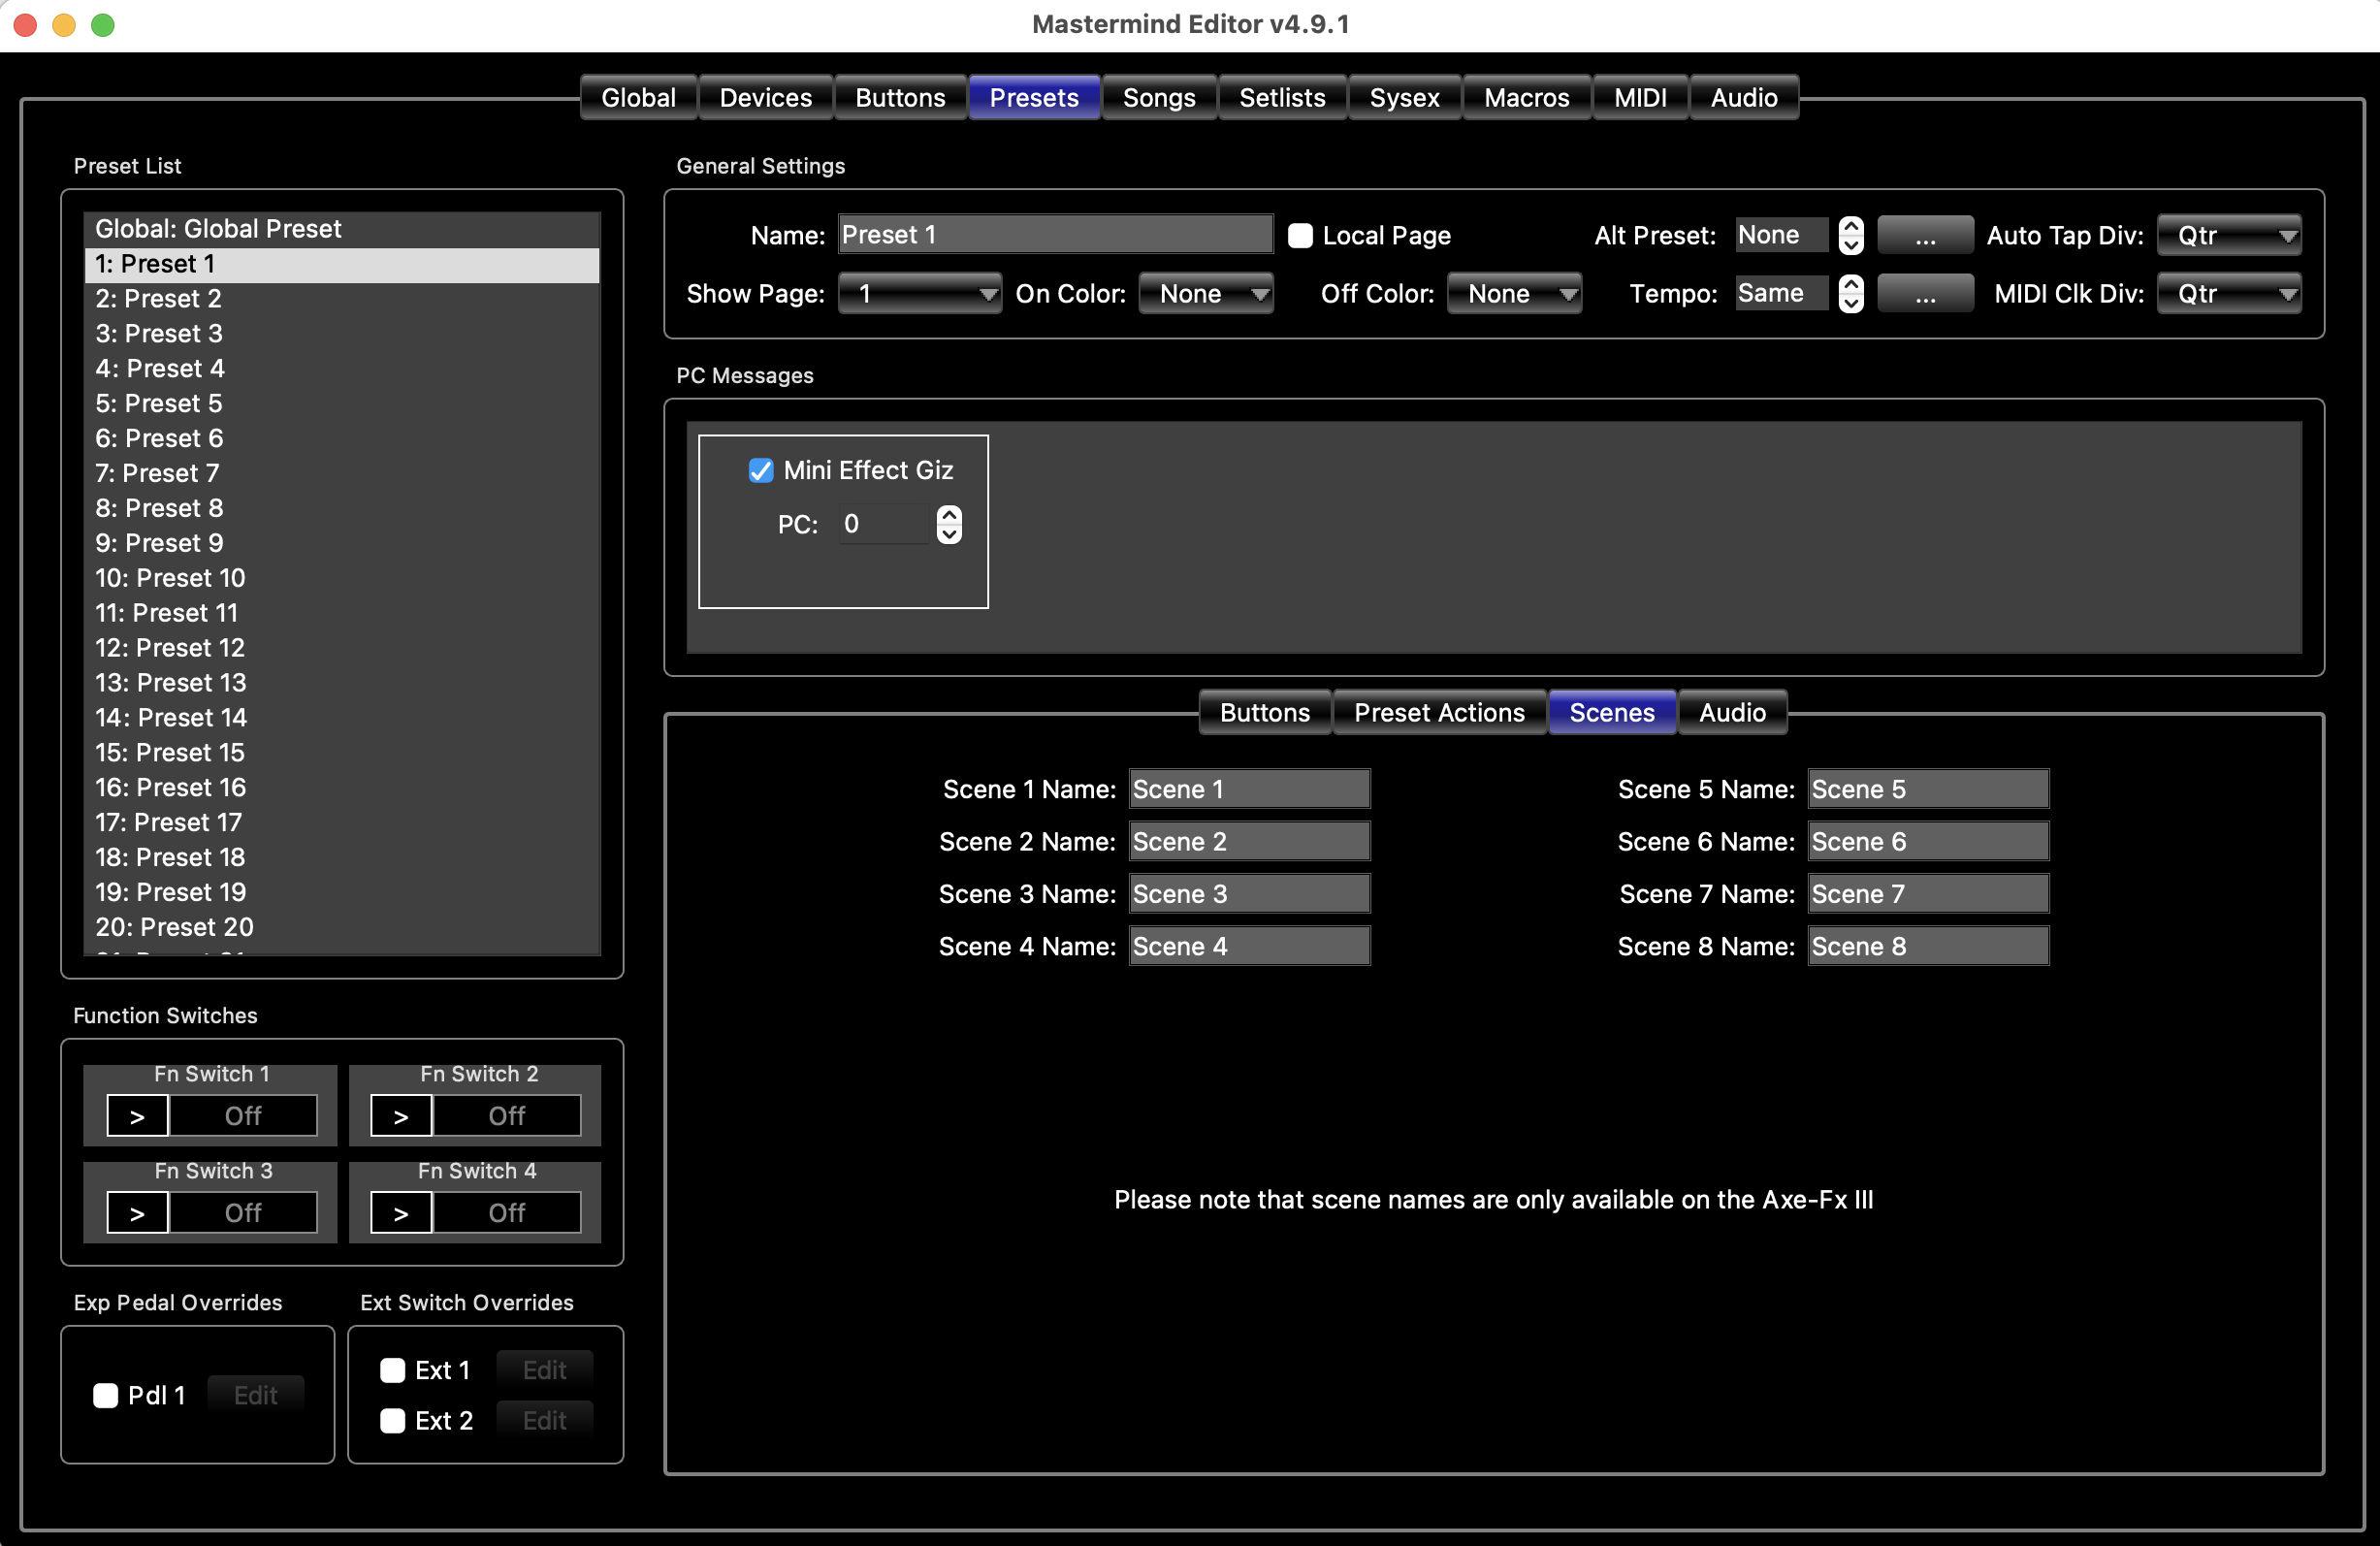
| Preset Tab - Scenes View | Preset Tab - Audio View (PBC Only) |
The Presets tab allows you to configure each of the 768 presets on your Mastermind.
Preset List
In the left column, there is a list of all of your presets, including the Global Preset. Selecting a preset in this column displays all of the preset's parameters in the other sections of the window.
Reordering and Copying Presets
You can rearrange presets within the Preset List by dragging and dropping them.
If you right click on a preset within the list (or Ctrl-click on a Mac), you will be presented with a popup menu with two options: Copy to Preset and Copy from Preset. This will allow you to copy the currently selected preset to another preset, or overwrite the current preset with settings copied from another preset. When you select an option, a dialog box will pop up, requesting a preset number that will be where the selected preset will be copied to or copied from.
General Settings
This is where you set up the most basic settings for each preset.
Name - Sets the preset's name
Local Page - When checked, activates a button page that is specific to this preset. When the preset is selected, the page is loaded and replaces button page 16.
Alt Preset - Allows you to set an alternate preset for this preset. You can specify a preset number here, or you can also choose one of the following special values by pressing the "..." button to the right:
- Global - Recall the Global Preset
- None - This preset has no alternate preset
- Previous - Switch to the previously selected preset instead of selecting a specific alternate preset
Show Page - Selects which button page should be displayed when the preset is loaded. Please note that this setting has no effect if Auto Page Select in the Globals Tab is not turned on. Possible values are:
- 1-16 - Displays the selected page
- Local Page - Displays the local button page (if the Local Page checkbox is turned on)
- Same Page - Stay on the same page - don't change pages
Off Color - Selects which color a preset button displays when this preset is not active. It can be set to any color or None, which means this preset doesn't have a special color - it uses the preset button's default Off Color setting.
Tempo - Sets the tempo of this preset. if MIDI Clock is set to Transmit or Auto, then this new tempo will be transmitted to connected MIDI devices. If Auto Tap is active, this will also result in a new tempo being sent. You can also specify one of these special tempo values:
- Off - Don't send tempo for this preset
- Same - Keep the same tempo
- Song - Use the current song's tempo
Auto Tap Div - Sets a tap tempo division for the Auto Tap feature. The tap division changes the rate at which the taps are sent to the connected device. The default setting, Qtr means that the tap tempo is processed as quarter notes - the taps are sent at the exact BPM rate specified in the preset. The other settings speed up the taps to match the new note type. Possible values are Qtr, Dot8th, QtrTrip, 8thTrip and 16th.
MIDI Clk Div - Sets a tap tempo division for the MIDI clock output. The tap division changes the rate at which the MIDI clock signal is sent to the connected devices. The default setting, Qtr means that the tap tempo is processed as quarter notes - the taps are sent at the exact BPM rate specified in the preset. The other settings speed up the clock to match the new note type. Possible values are Qtr, Dot8th, QtrTrip, 8thTrip and 16th.
PC Messages
This section is where you specify the PC and (optionally) bank messages that are being sent to your MIDI devices. Any MIDI devices defined in Devices Tab that have Send PCs turned on will be listed here.
Each device has a checkbox. When the checkbox is not checked, no PC or bank message will be sent to that device for this preset.
If the checkbox is checked, you can specify a program or PC number for each device. If the device has bank support, you will also be able to specify a bank number. These will be sent to your device when the preset is loaded.
Some devices have flat numbering, where the PC and bank number are combined into one preset number. These devices will not have a space for entering the bank number, and will allow you to type in a PC number that's larger than 127 (the standard MIDI limit for PC numbers). For these devices, the Mastermind GT and PBC will automatically calculate the correct PC and bank numbers for you. You can set a device to use flat numbering (or not) using the Flat Numbering setting on the Devices Tab.
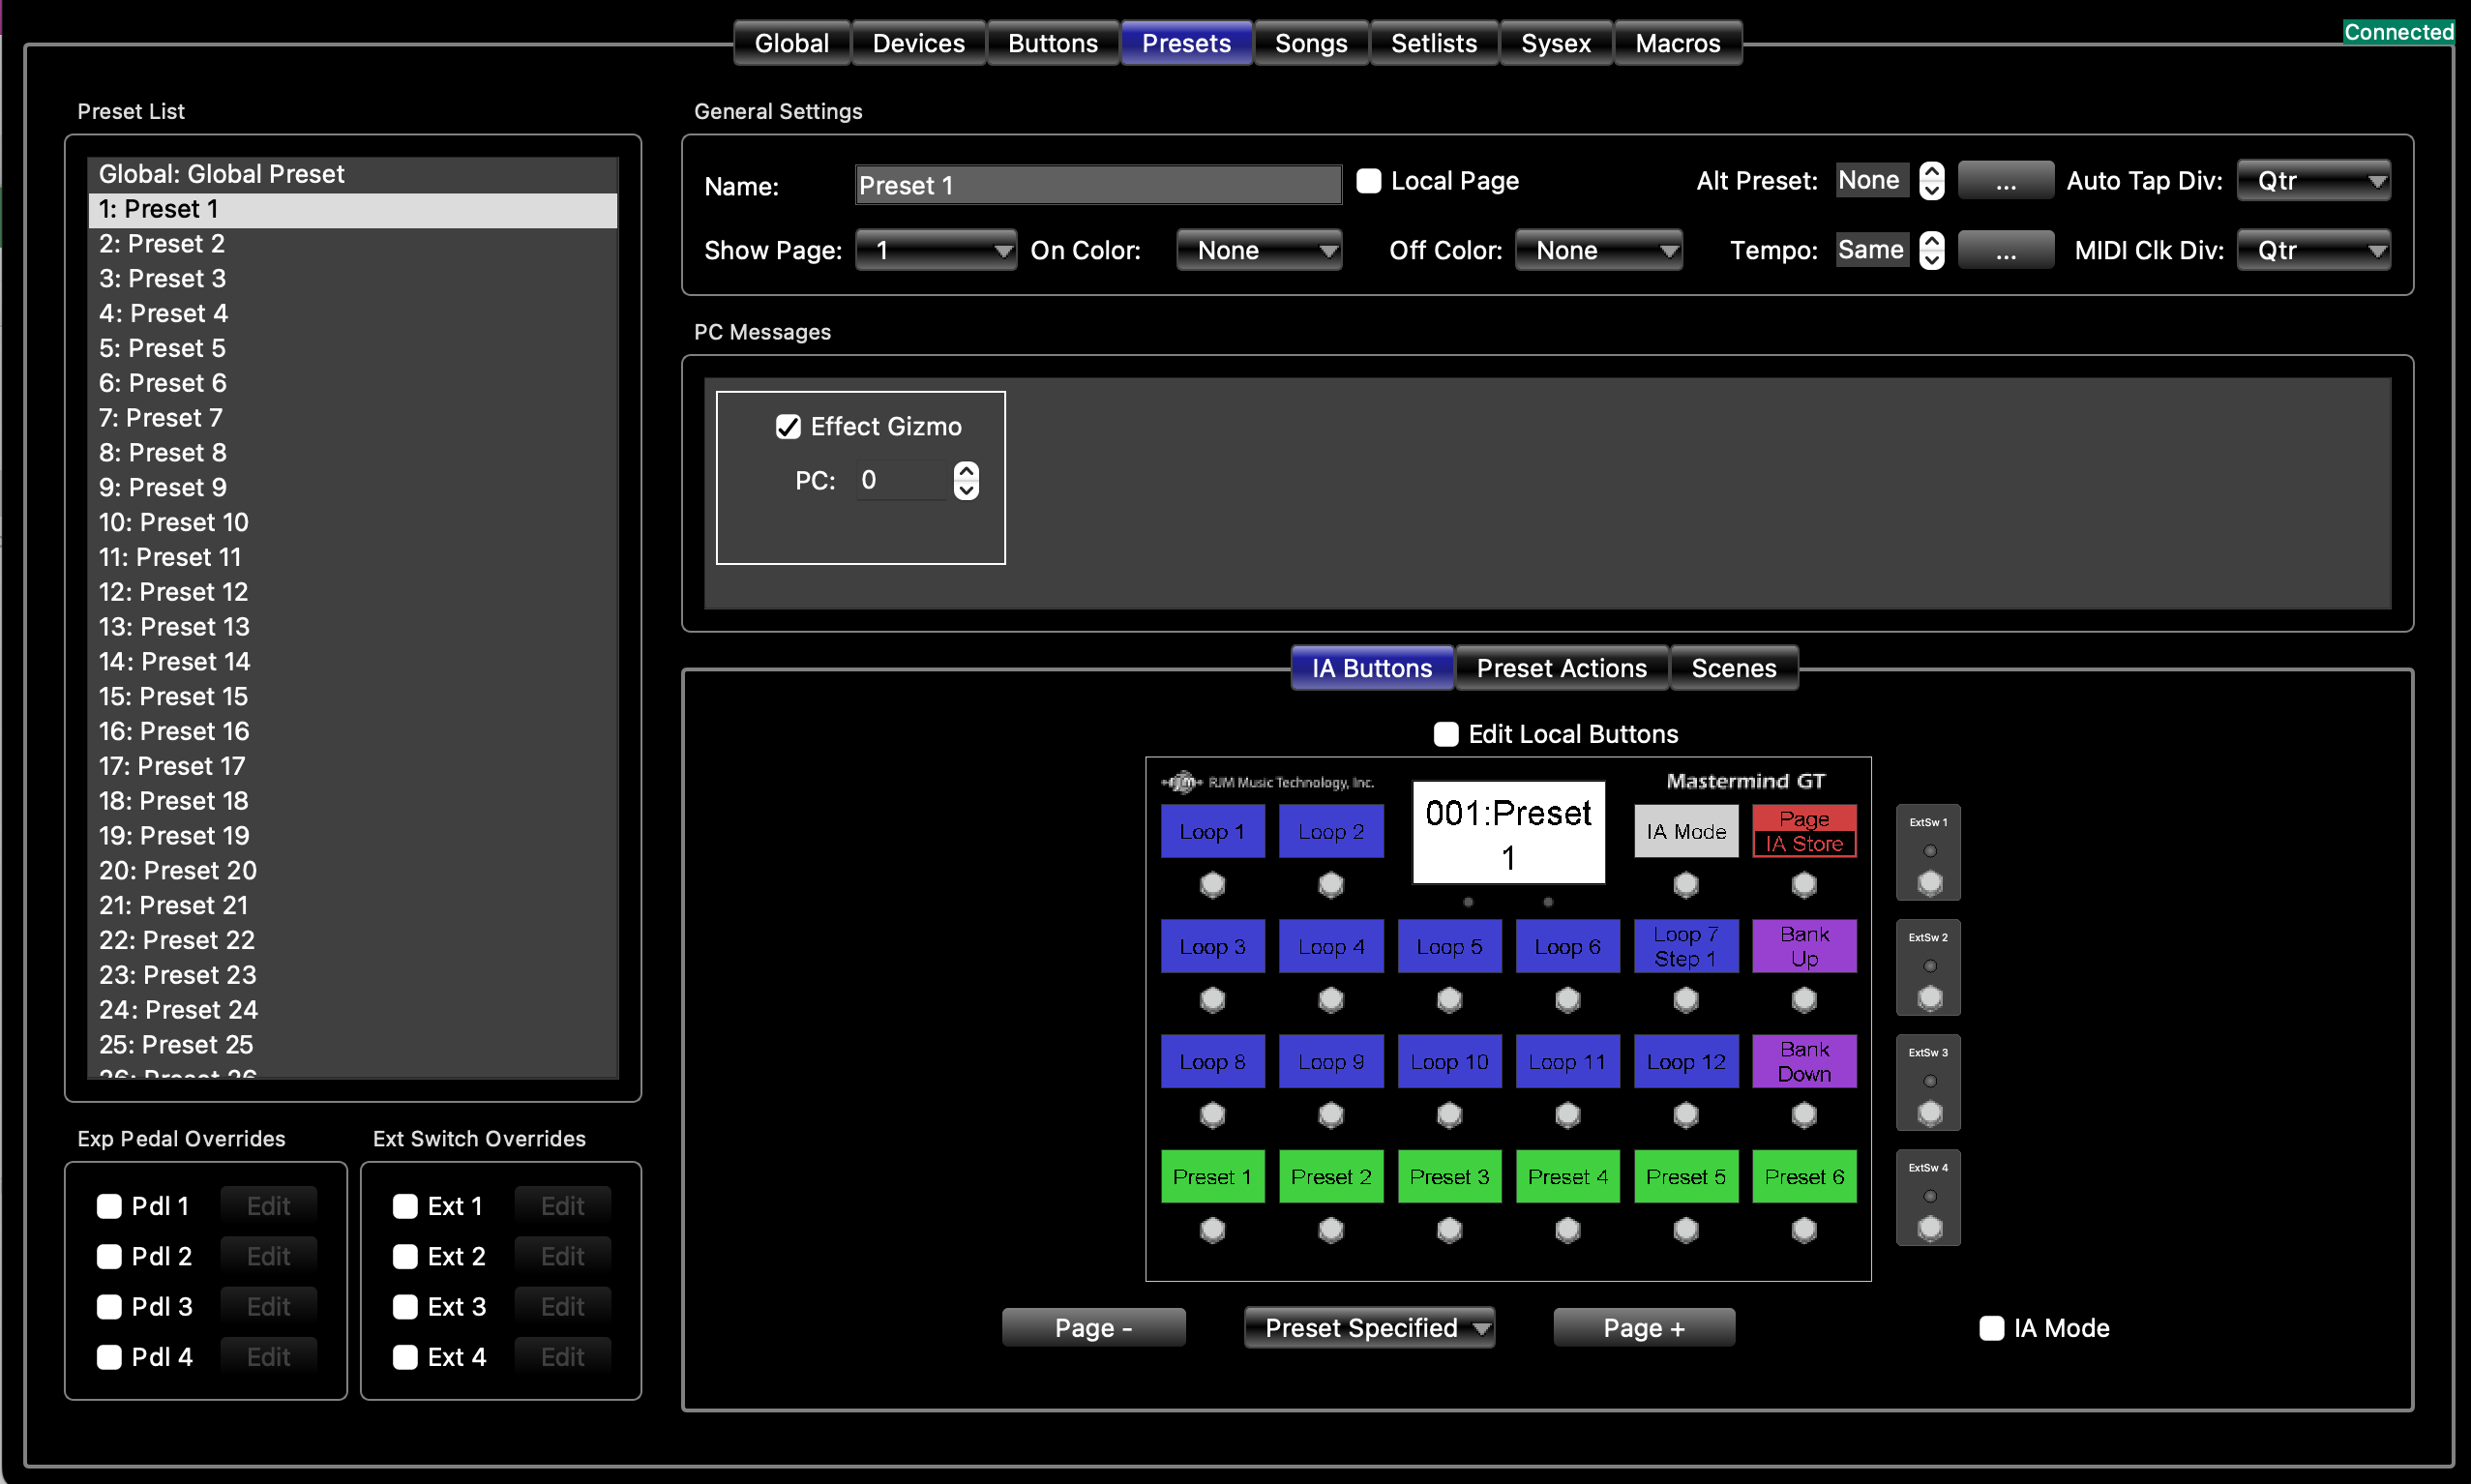
When the selector at the top of the box is set to IA Buttons, you can edit your IA buttons and local button page. The Edit Local Buttons checkbox selects which mode you are in.
When Edit Local Buttons is not checked, you are editing the state of your IA buttons. Click on any IA button to turn it on or off. That state will be stored in the currently selected preset, and the button's state will be automatically recalled when the preset is loaded. Only buttons that have Update on Preset Change turned on will be able to be edited in this mode.
When Edit Local Buttons is checked, you are now editing the buttons in the local button page. Double click on any button to edit it. The editor screen works exactly like the Button Edit Page, but changes only apply to this preset's the local button page.
Checking Edit Local Buttons will automatically enable the local button page for the preset and set the Show Page parameter to button page 16, which is the local button page.
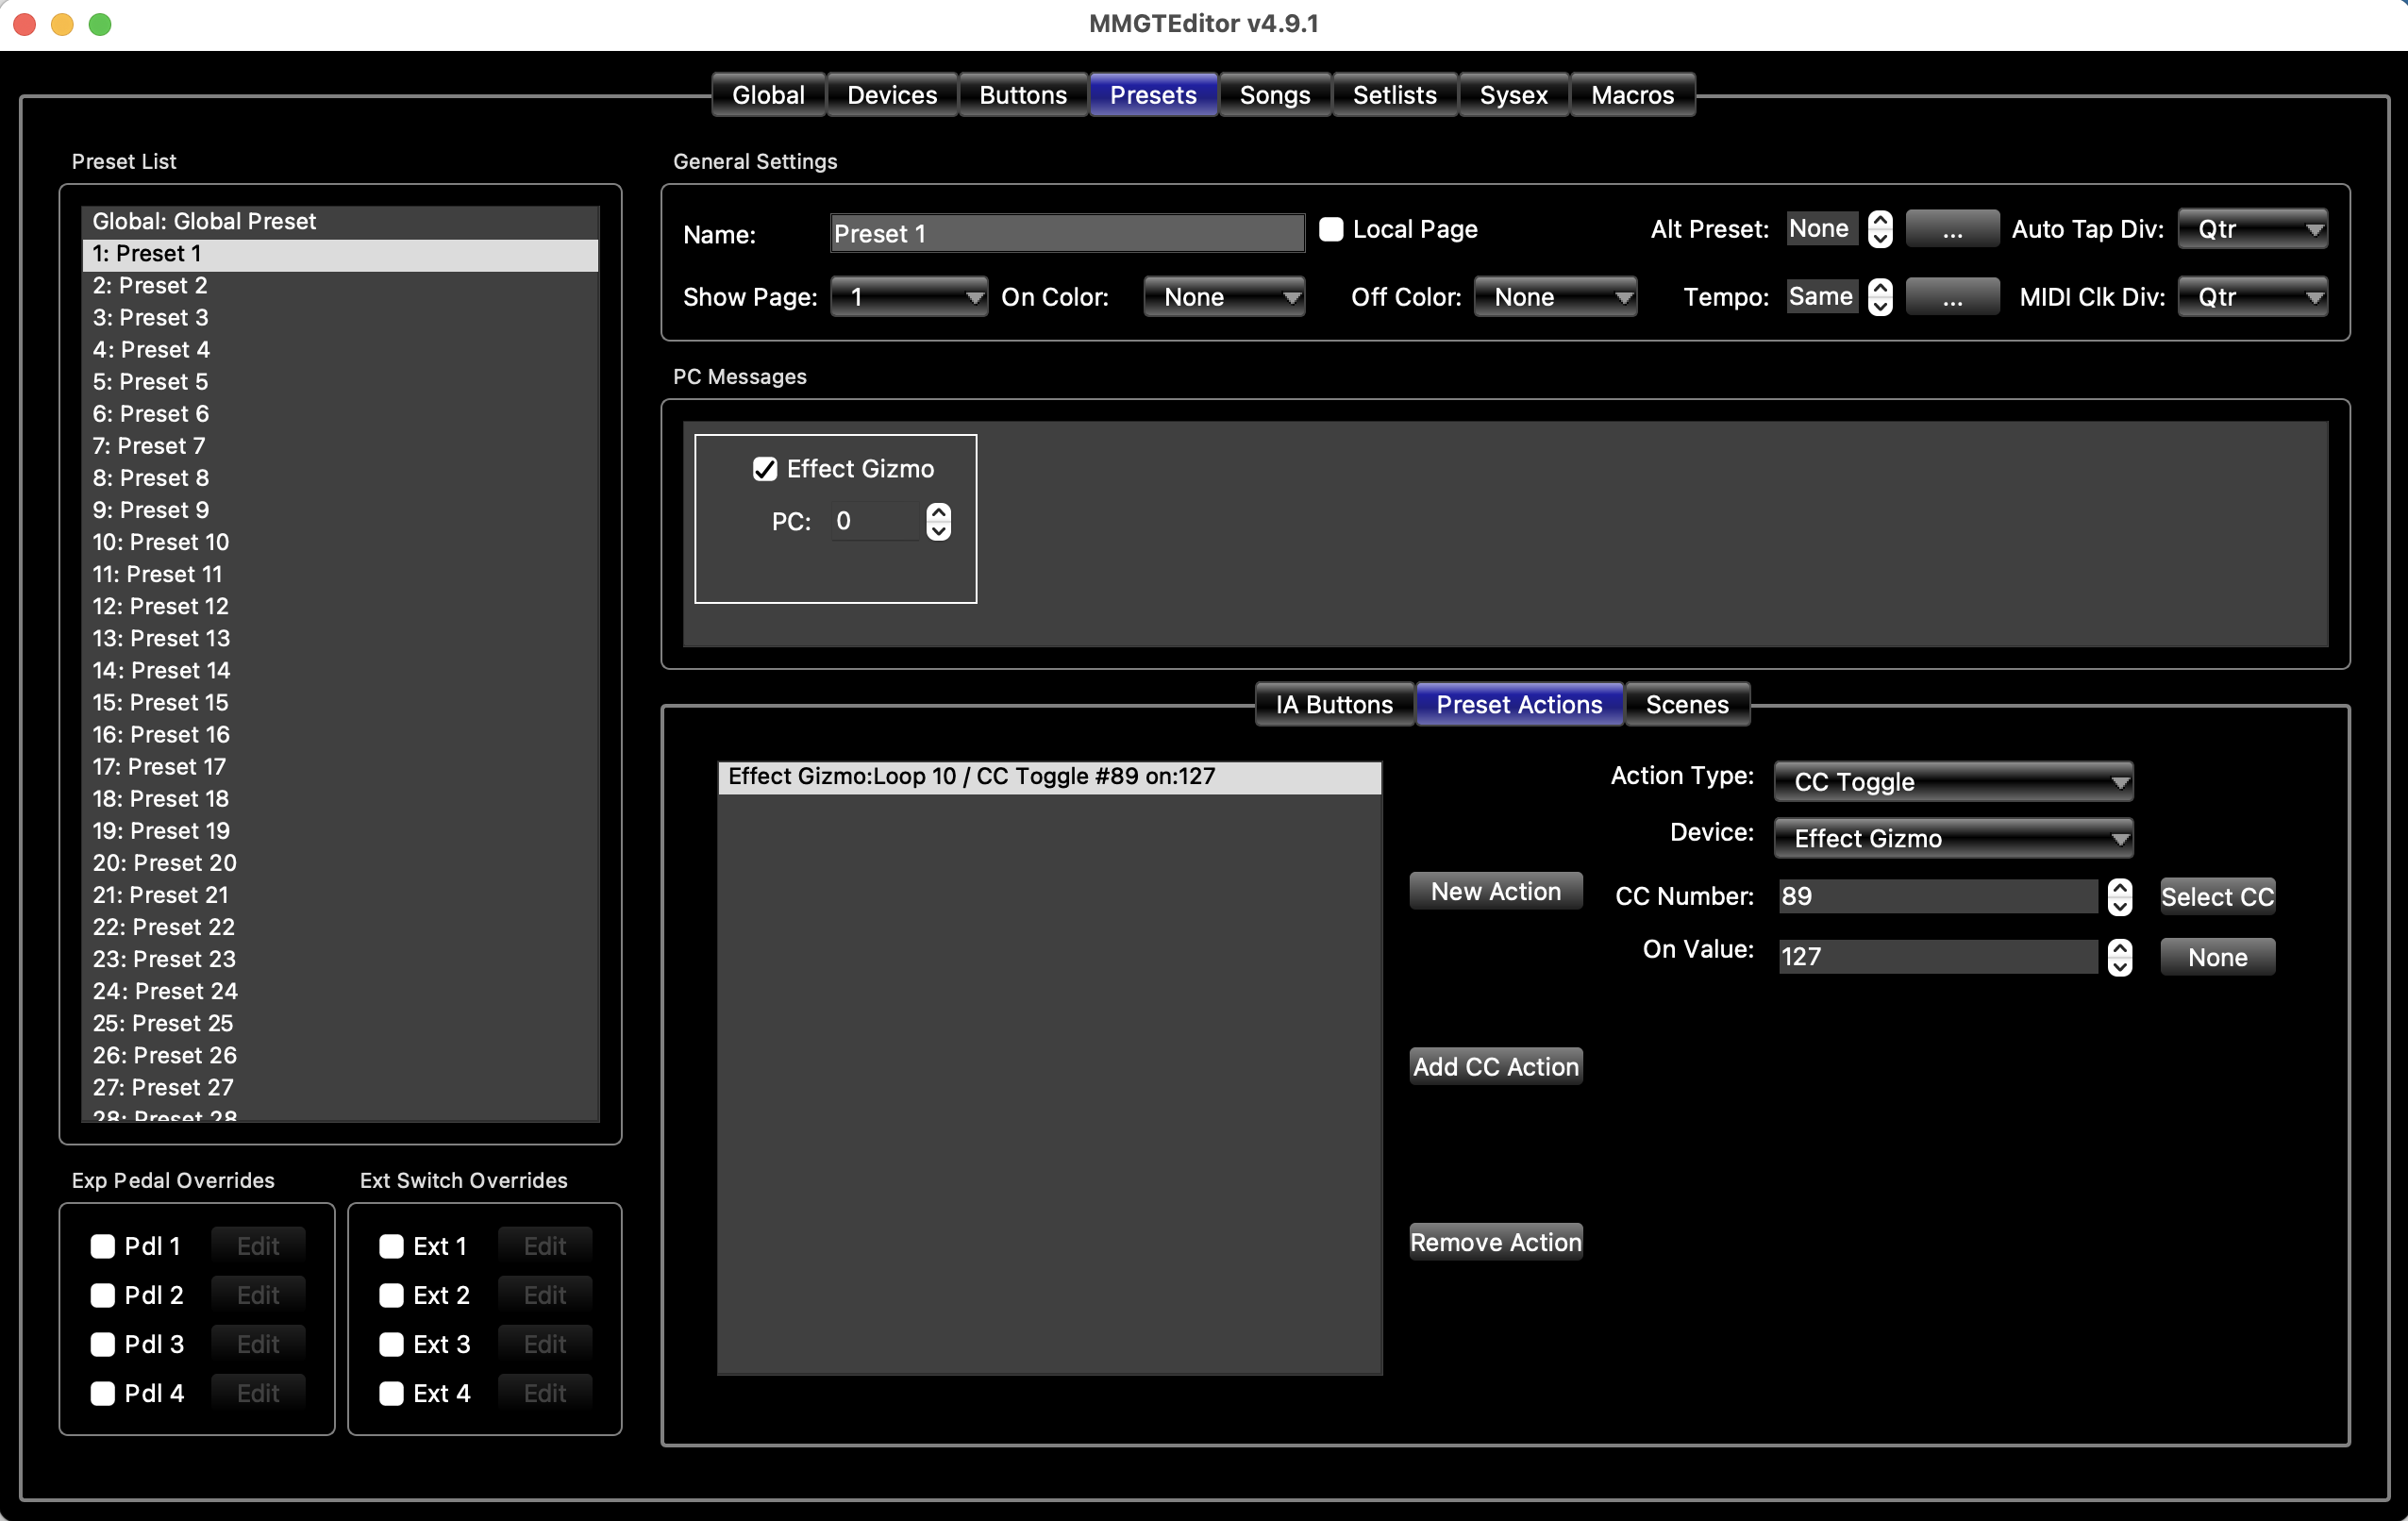
Preset Actions
When the selector at the top of the box is set to Preset Actions, you can edit the list of Actions associated with this preset. Each preset can have up to 10 Actions associated with it. These Actions are executed when the preset is loaded. The preset actions are executed after the PC messages are sent, but before the IA buttons send their messages.
Preset Actions only have On values, and those values are sent when the preset is loaded.
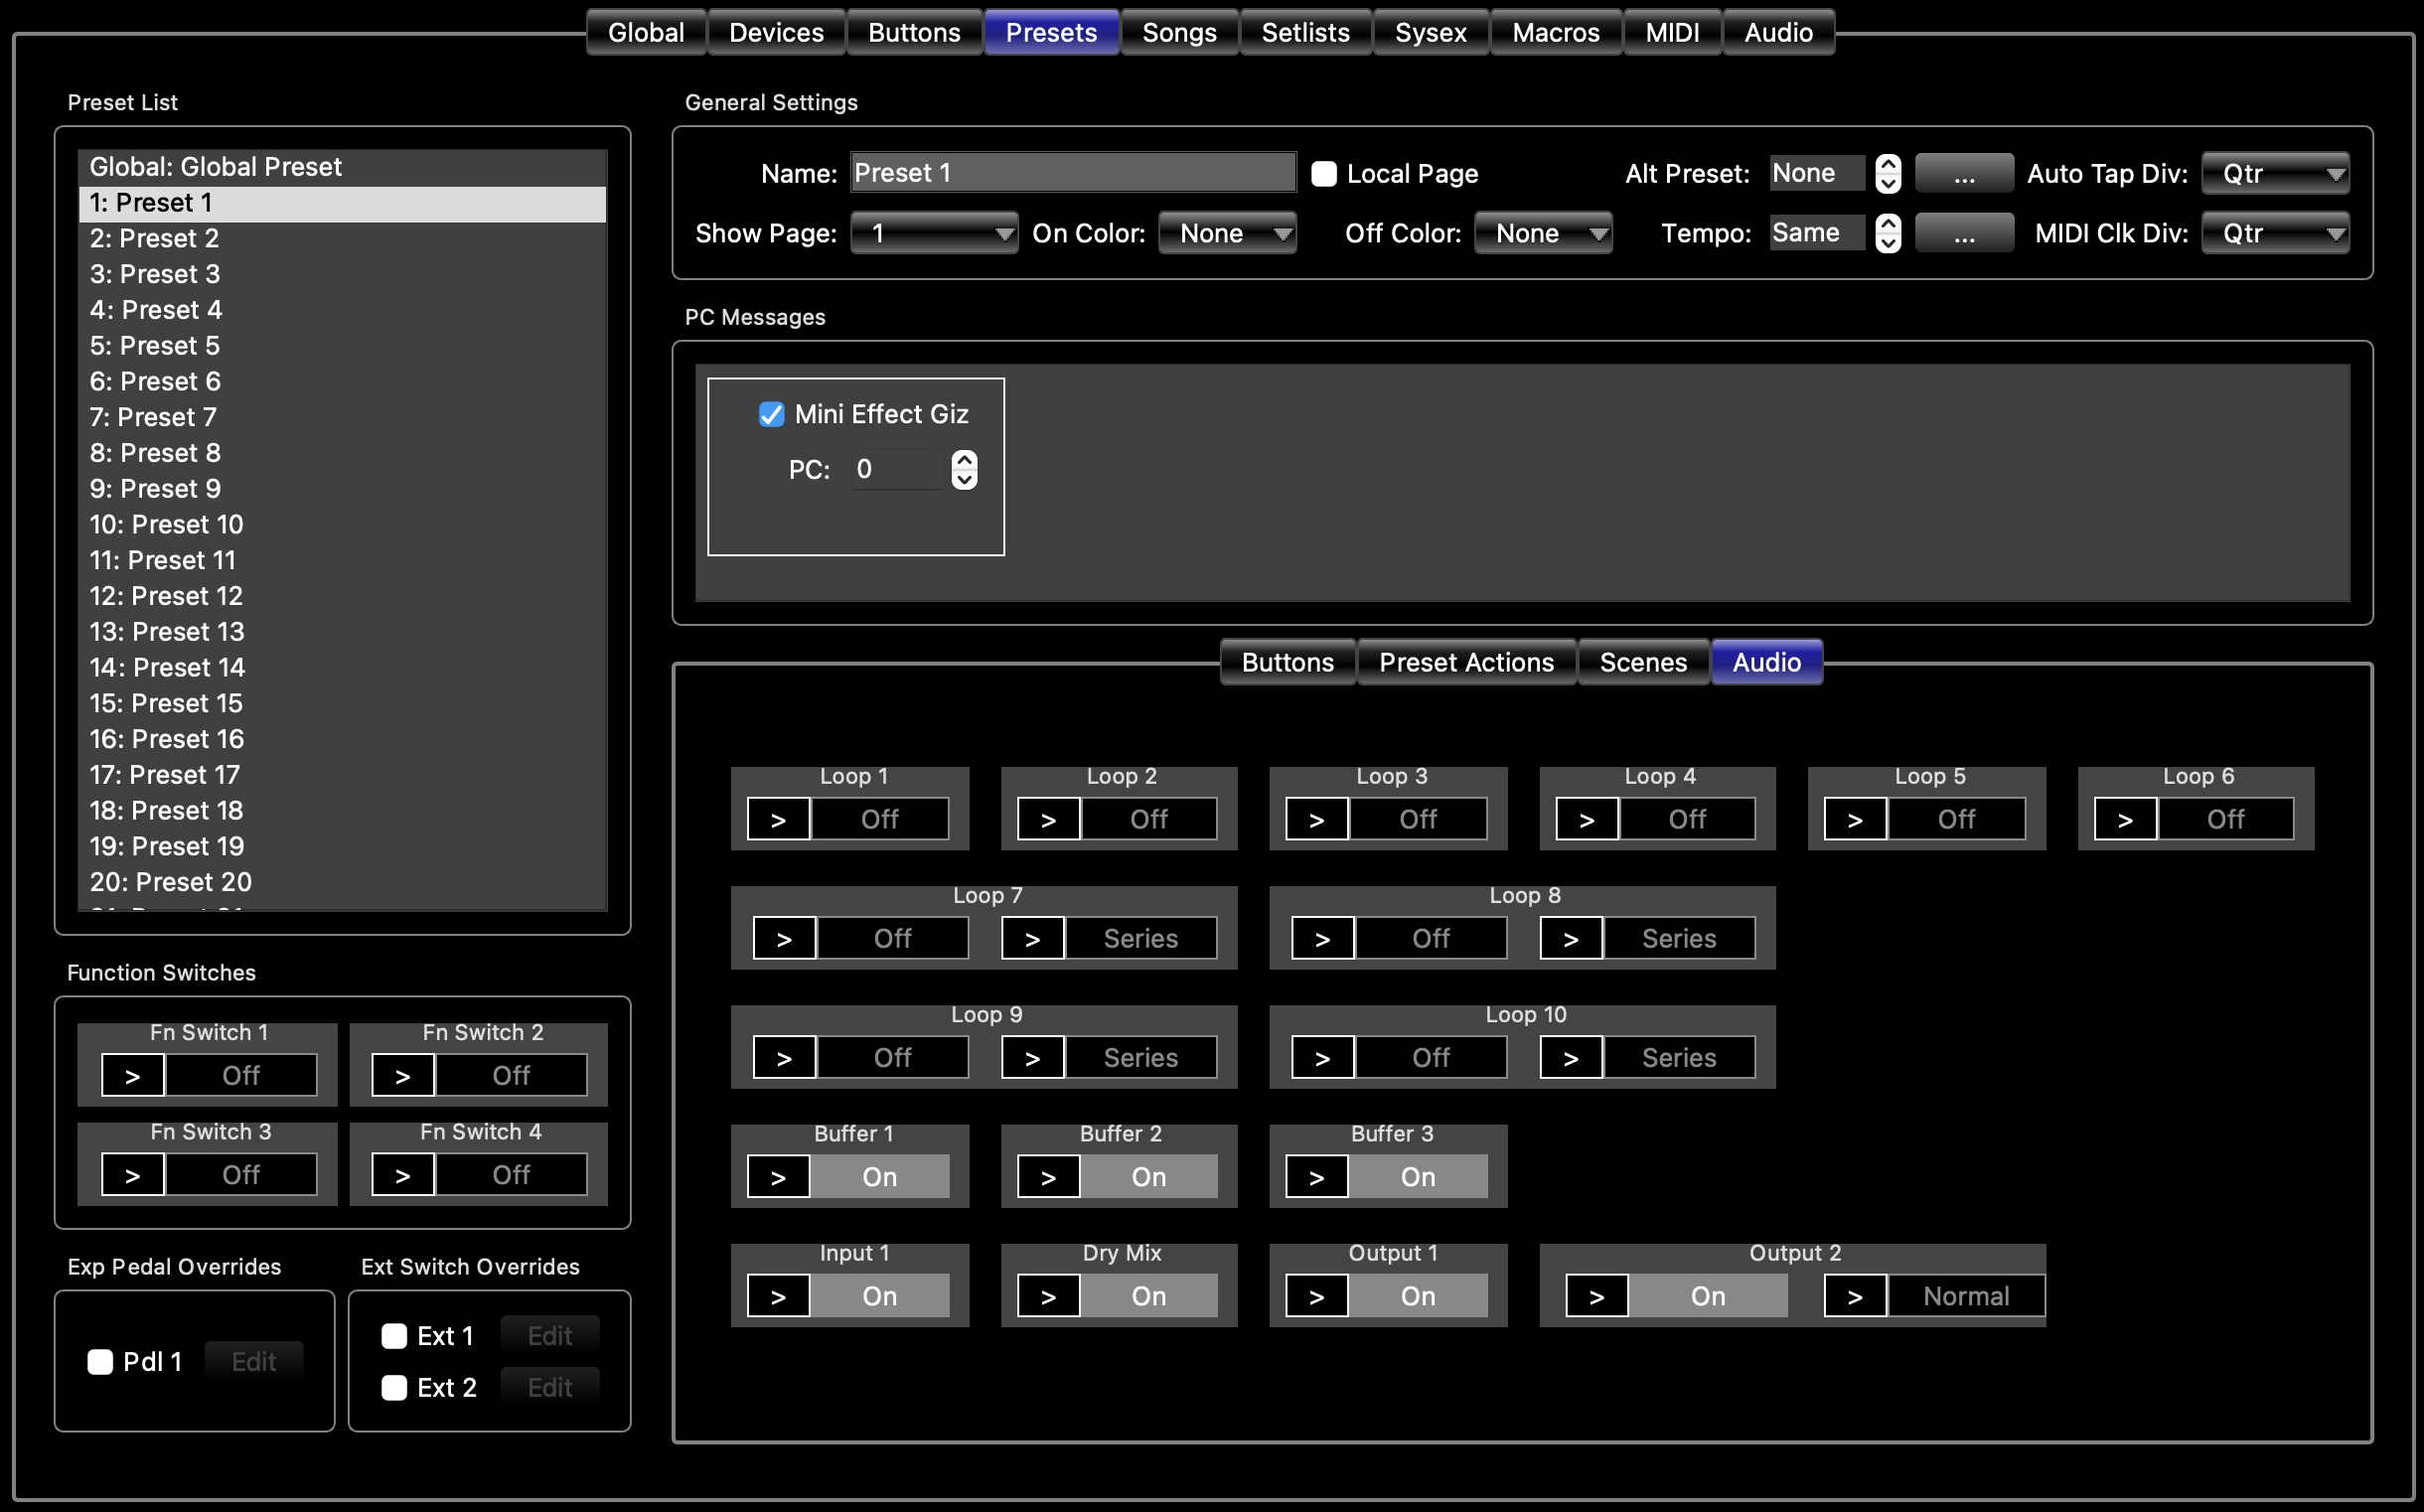
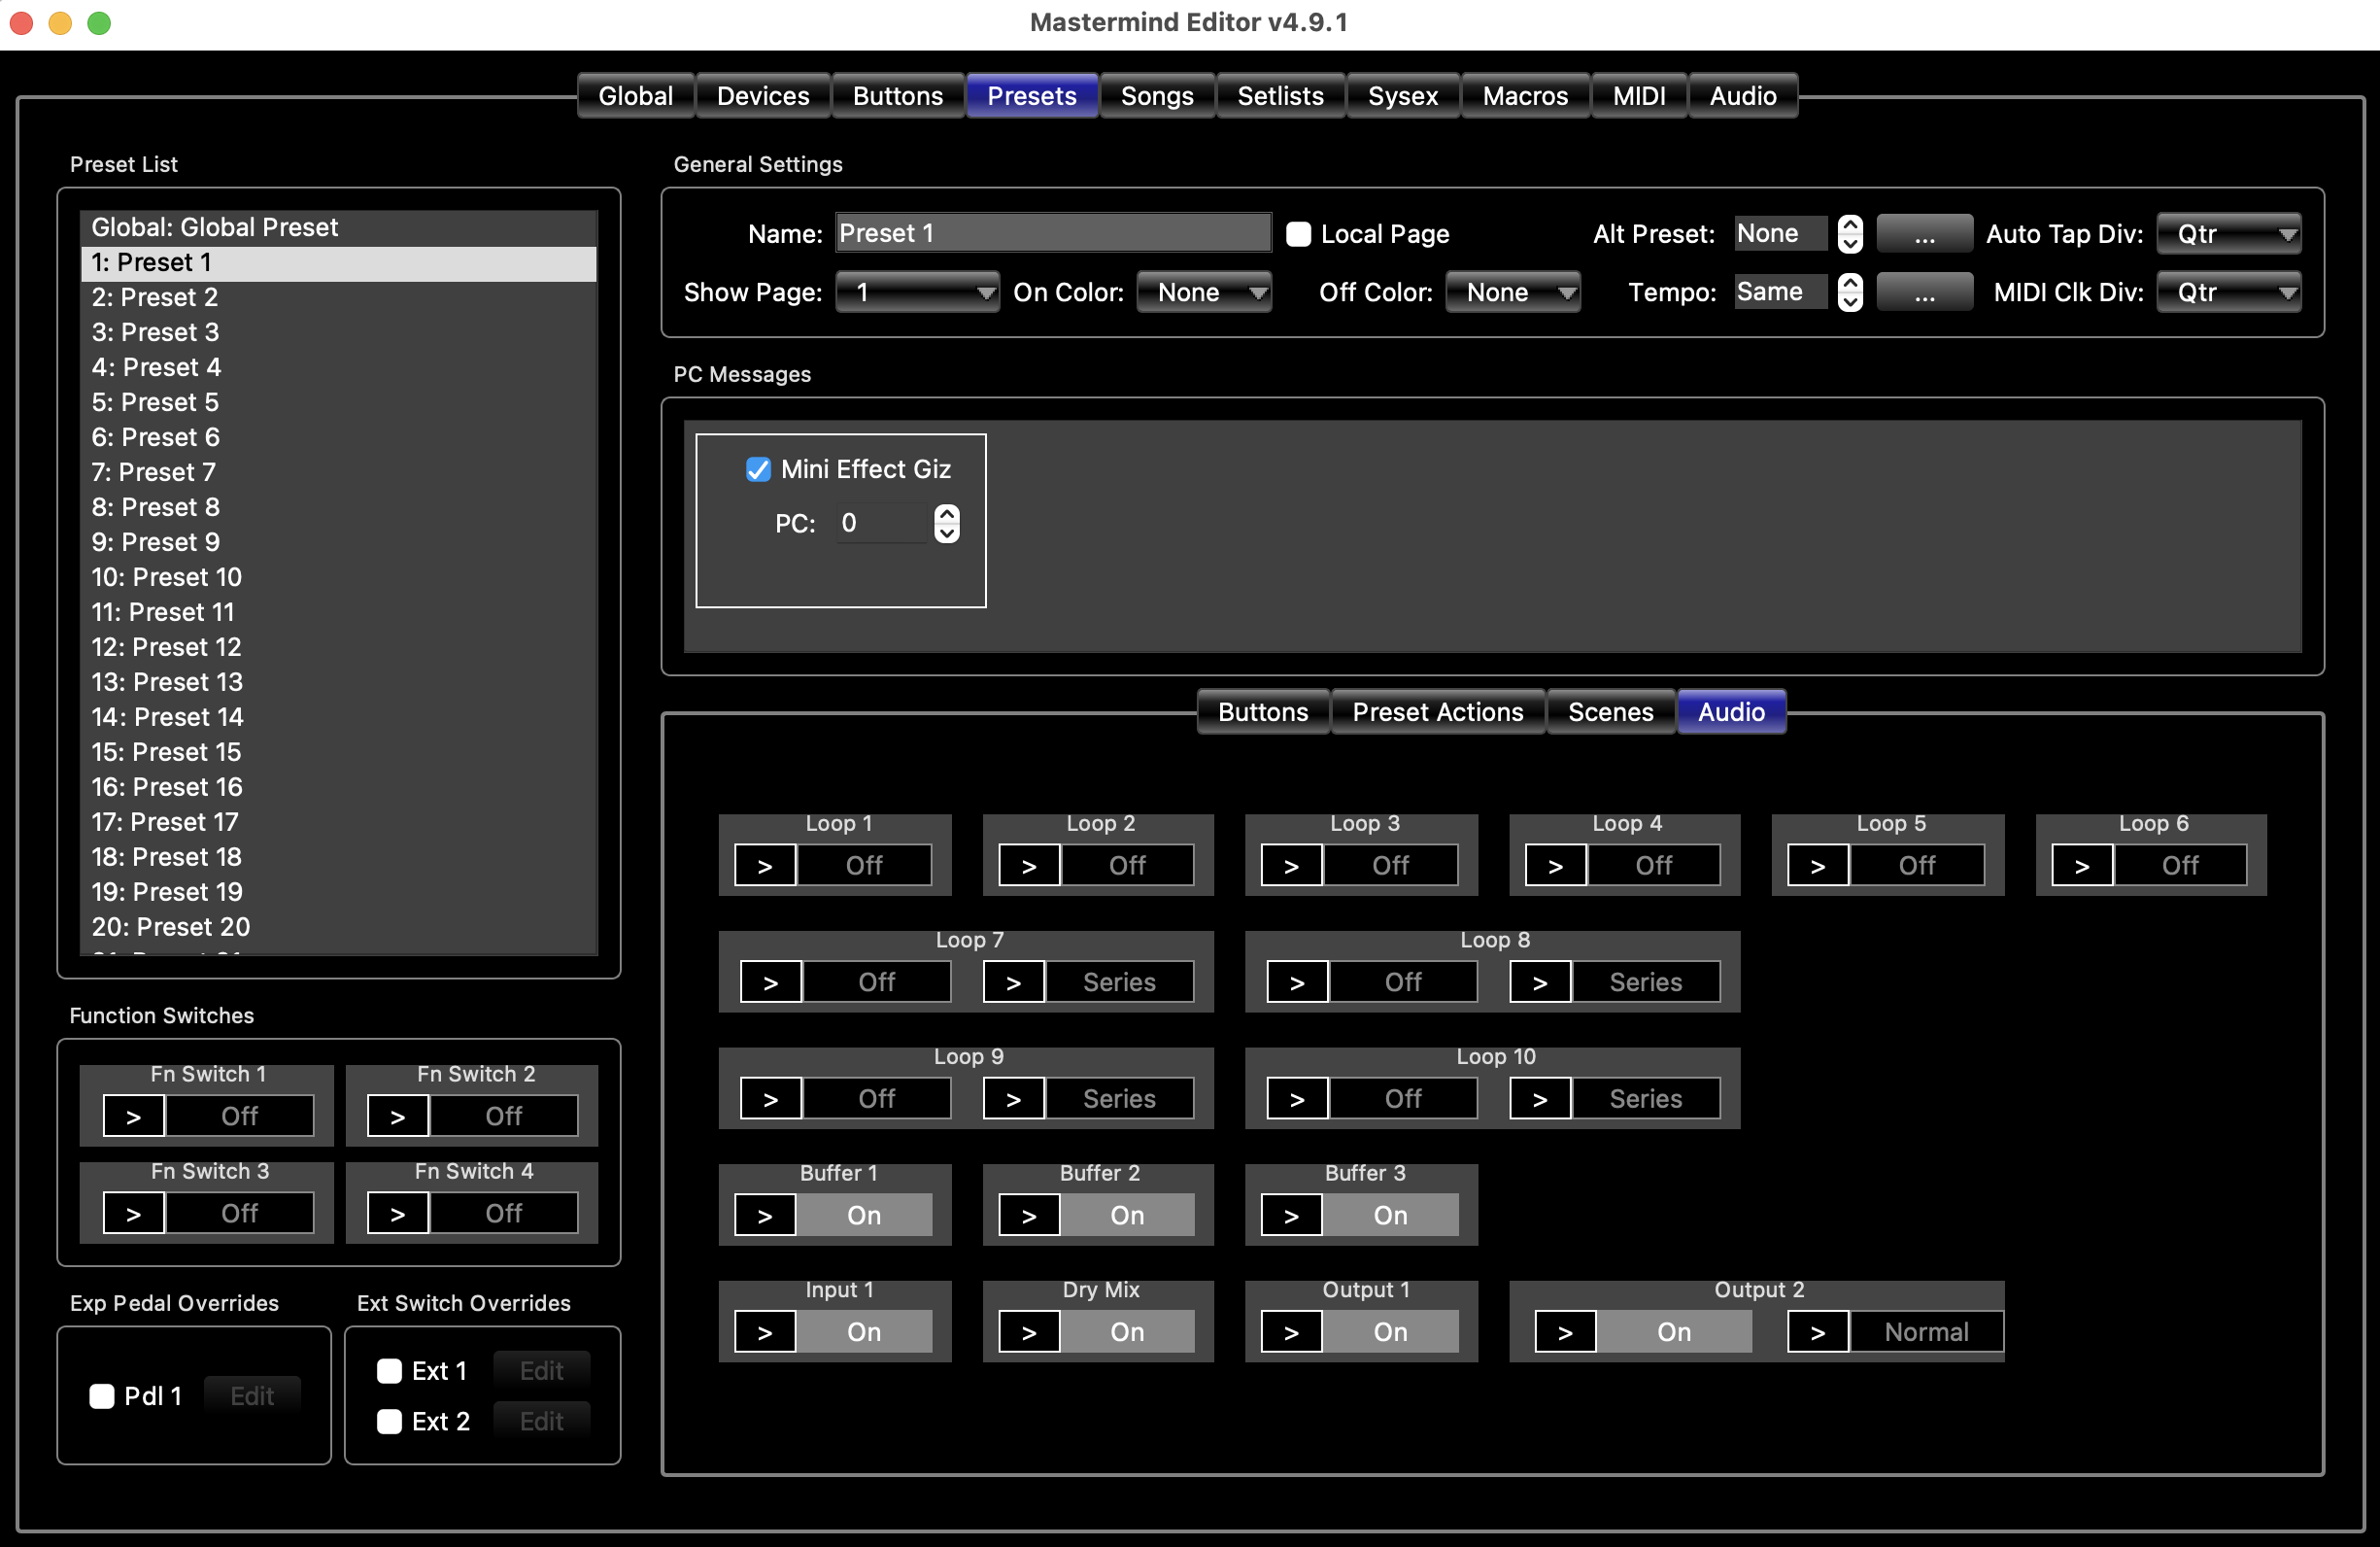
Audio
On the Mastermind PBC, you can use the Audio section of the Presets tab to specify overrides to the global audio settings found in the Audio Tab. To override the settings for a loop, buffer, etc., simply click the override ">" icon to enable it, then click the button next to it to set the desired state. You can override the on/off state of any audio feature. You can also set the series/parallel setting for loops that support it, and set the phase invert state for the B output.
Settings made in this section only affect the currently selected preset.
Function Switches
On the Mastermind LT and PBC, you can use the Function Switches section to specify overrides to the global function switch settings found in the Globals Tab. To override the settings for a switch, simply click the override ">" icon to turn it on, then click the button next to it to set the desired state.
Settings made in this section only affect the currently selected preset.
Exp Pedal Overrides
This section allows you to override the global settings for the expression pedal and specify new settings that affect only this preset. To override settings, check the checkbox for the pedal, then click the edit button, which will pop up the Expression Pedal Edit Page and will let you provide new settings.
Ext Switch Overrides
This section allows you to override the global settings for one or more external switches and specify new settings that affect only this preset. To override settings, check the checkbox for an external switch, then click the edit button, which will pop up the Button Edit Page and will let you provide new settings.
No comments to display
No comments to display